Bootstrap Header Form
Introduction
Just as inside of published files the header is just one of the highly essential elements of the web pages we design and obtain to employ every single day. It nicely holds probably the most necessary related information regarding the status of the organisation as well as person responsible for the web page itself and the importance of the entire internet site-- its navigating structure which in turn together with the Bootstrap Header Form itself should be thought and crafted in such technique that a site visitor rushing or not actually having an idea in which way to go to just take a peek at as well as identify the desired information. This is the preferred situation-- in the real life making as close as possible to this visual appeal and activity additionally goes due to the fact that we just about each and every time have some project specified limitations to take into account. Also compared with the written paperworks around the world of cyberspace we should really always keep in mind the choice of attainable gadgets on which our web pages could actually get exhibited-- we should confirm their responsive attitude or else to puts it simply-- make certain they will demonstrate optimal at any screen size achievable.
And so let's have a look and discover precisely how a navbar gets built in Bootstrap 4.
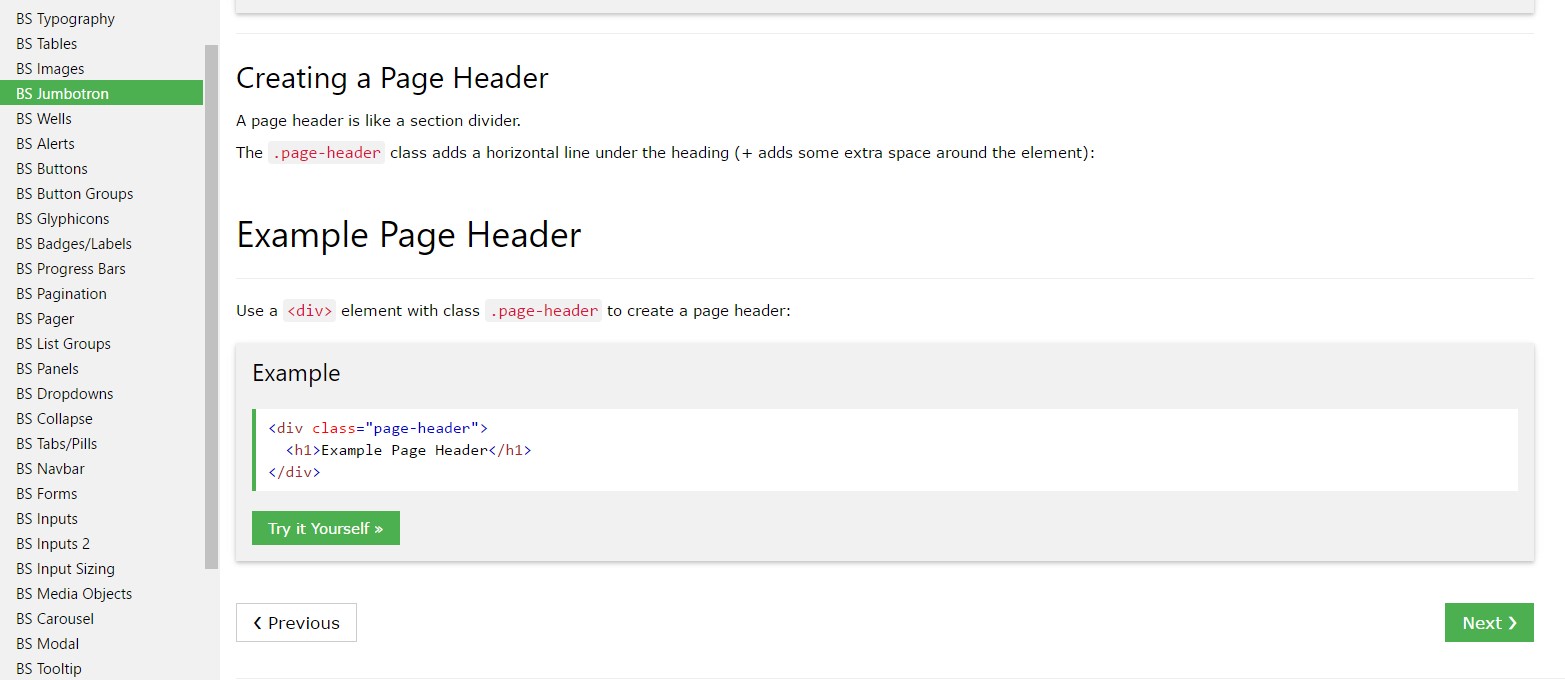
Exactly how to work with the Bootstrap Header Template:
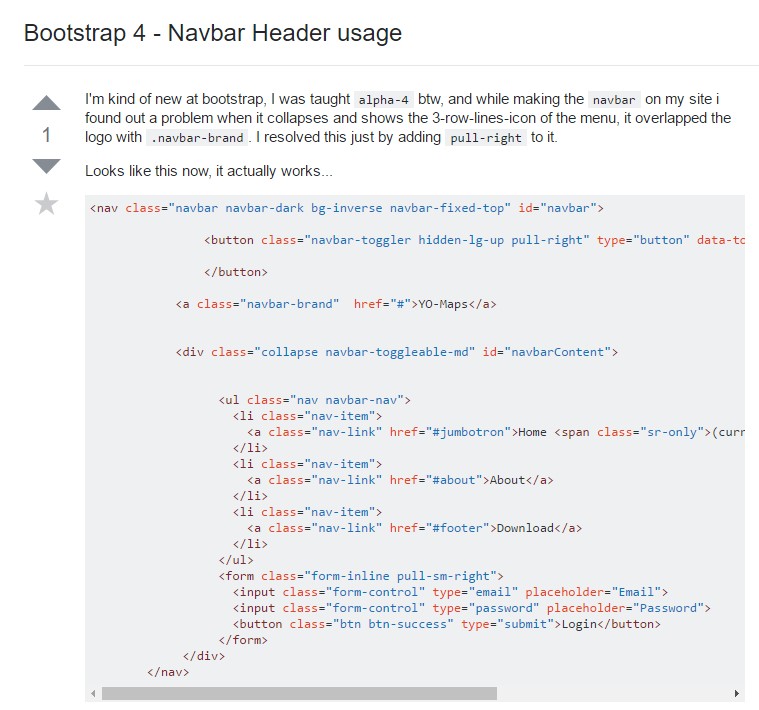
Firstly for you to create a page header or else since it gets referred to within the framework-- a navbar-- we need to wrap the entire item in a <nav> element together with the .navbar plus .navbar-toggleable- ~ screen size ~ assuming that you would most likely require it to collapse in a mobile style where the display scale is one of the predefined Bootstrap 4 display screen dimensions at the reach of which the actual collapse will occur. Additionally this is actually the place to add in a number of the brand-new for this version background color .bg-* and color arrangement classes-- like .navbar-light and .navbar-light
Within this parent component we should certainly start by putting a switch feature which shall be employed to present the collapsed material on a smaller sized display screen sizes-- to achieve that set up a <button> together with the class .navbar-toggler and additionally - .navbar-toggler-left or else .navbar-toggler-right classes which in turn will adjust the toggle button's placement in the collapsed Bootstrap Header Class. This component needs to in addition possess certain attributes like type = " button ", data-toggle ="collapse" and data-target = " ~ the collapse element ID ~ which we will specify in simply just a few procedures further .
What is really bright new for current alpha 6 release of the Bootstrap 4 framework is that within the .navbar-togler you should really also wrap a <span> element with the .navbar-toggler-icon which is presented for improving the flexibility in editing the look of the toggler button itself keeping it mix much better to the whole page's appearance. Close to the toggle tab we should now install the features providing our label -- to execute this provide an <a> element with the .navbar-brand class and cover your logo design just as an <div class="img"><img></div> tag and brand name in it or else if you desire-- include just the logo design or even reject the element totally-- it's not a necessity however in the event you wish it display just before the site navigation-- this is probably the most typical place it need to take.
Now-- the essential component-- setting up the collapsible container for the fundamental website navigating-- to accomplish it build an element through the .collapse and .navbar-collapse classes employed to wrap the whole site navigation construction up. It is important for you to likewise delegate an unique id =" ~ same as navbar toggler data-target ~ " property to this element. Coming up-- this is among the most popular approach-- in this .collapse component design an <ul> with the .navbar-nav class selected to it. Within of this <ul> place some <li> features with the .nav-item class assigned and within them-- the real navigation urls - <a> components having the .nav-link class. This whole entire classes structure is fresh for Bootstrap 4 given that the former edition did not employ the .nav-item and .nav-link classes. This navigation structure in this framework fully supports multiple levels of navigation wrapped inside of the dropdown elements. To create one make sure along with the .nav-item you have also assigned .dropdown class to the <li> element and .dropdown-toggle - to the .nav-link inside it. Next inside the very same .nav-item element create a <div> with the .dropdown-menu class and inside of it – place the needed secondary level links assigning them to the .dropdown-item class. Repeat as many times as necessary.
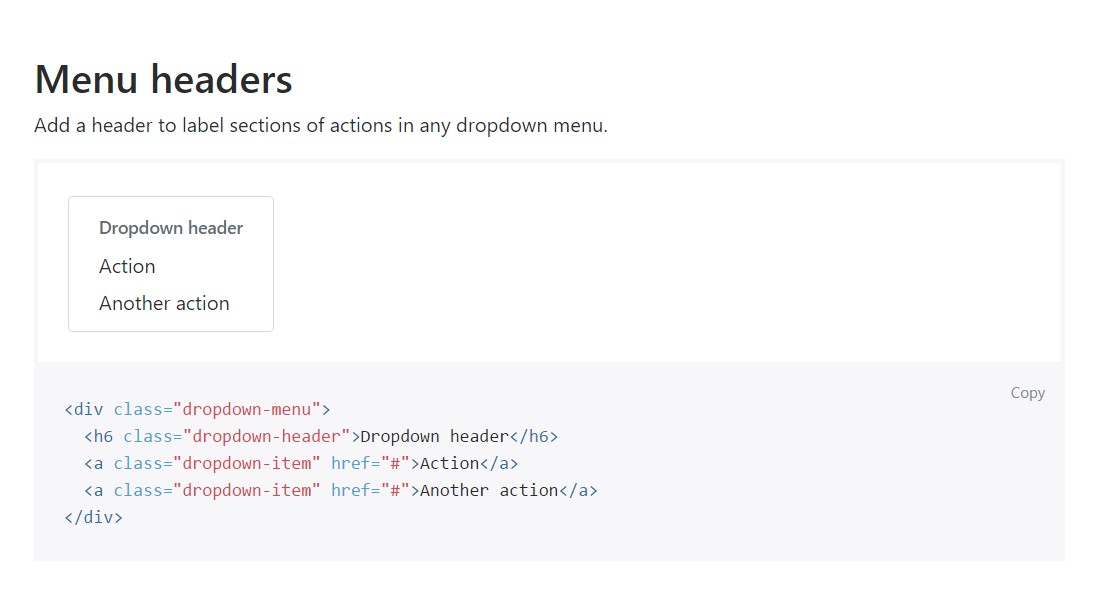
Example of menu headers
Provide a header to label segments of actions into any dropdown menu.
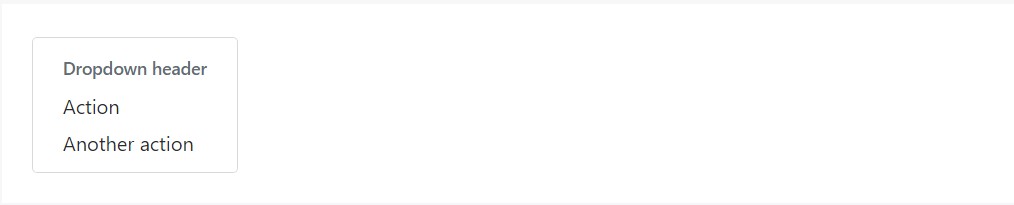
<div class="dropdown-menu">
  <h6 class="dropdown-header">Dropdown header</h6>
  <a class="dropdown-item" href="#">Action</a>
  <a class="dropdown-item" href="#">Another action</a>
</div>
More features
One more brand new factor for this edition is the opportunity to place an inline forms in your .navbar applying the .form-inline class or some text message utilizing a <span> with the .navbar-text specified to it.
Final thoughts
Whenever it goes to the header items in the most recent Bootstrap 4 version this is being handled with the constructed in Collapse plugin and a number of navigation specified material classes-- several of them developed especially for maintaining your brand's identification and others-- to earn certain the actual webpage navigating system will display best collapsing in a mobile phone style menu when a indicated viewport width is accomplished.
Review a couple of on-line video guide about Bootstrap Header
Connected topics:
Bootstrap Header: main records
Bootstrap Header training
Bootstrap 4 - Navbar Header handling