Bootstrap Radio Example
Introduction
In some instances the little things happen to be definitely the very most critical given that the full pic is actually a entirely being composed of numerous small aspects perfected and compiled for showcase and observe just as a well-oiled bright machine. These kinds of straight words might possibly look a little bit too much whenever it comes down to develop controls yet supposing that you just consider about it for a little there is definitely just a single feature helping the visitor to get one among a couple provided solutions. Therefore in the event that you are actually having some forms with this kind of selections controls over your different web sites does this mean they are going to all look equivalent?And more importantly-- would you go for that?
Happily for us the latest version of one of the most famous mobile phone friendly framework - Bootstrap 4 goes totally loaded with a brilliant brand new treatment to the responsive behavior of the Bootstrap Radio Button regulations and what exactly is bright new for this edition-- the so called custom made form regulations-- a combination of predefined appeals you can just involve and operate in order to incorporate the so desired nowadays variety in the visional performances of nearly boring form items. In this way let's check it out just how the radio tabs are expected to be described and designated in Bootstrap 4.
The way to utilize the Bootstrap radio button:
For you to design a radio tab we first need to have a <div> element to cover it inside with the .form-check or else .form-check-inline applied. The 1st class will attach the Bootstrap Radio Form a block appearance and the second will straighten the element inline along with eventually a several more others similar to it. These are actually fresh classes for Bootstrap 4-- in the former versions they used to be defined as .radio and .radio-inline. In case you want the radio button to be on page however to become disabled for clicking on-- ensure you have certainly likewise added the .disabled class here.
In the .form-check element we need to first provide a <label> with the .form-check-label class selected and inside it an <input> with the .form-check-input class and certain attributes employed such as type = “radio”, name = “ ~ same name for all the options ~ ” in case you possess a couple of radio buttons detailing a few solutions a visitor should get from they have to bring the similar name yet other unique id = “ ~ unique ID ~ “ attribute and a value=” ~some value here ~ ” attribute. Lastly assuming that you're targeting to disable the control -- additionally provide the disabled attribute to the <input> element.
This is likewise the location to identify assuming that you desire the radio control to first load like checked when the web page gets loaded. In the event that this is really what you're looking for-- as opposed to disabled bring in the checked attribute to the <input>. In case you occur to intentionally or accidentally provide a few radio buttons along with the checked attribute-- the last one read will certainly be as well the one featuring as reviewed web page load.
Checkbox plus Bootstrap Radio Toggle for examples
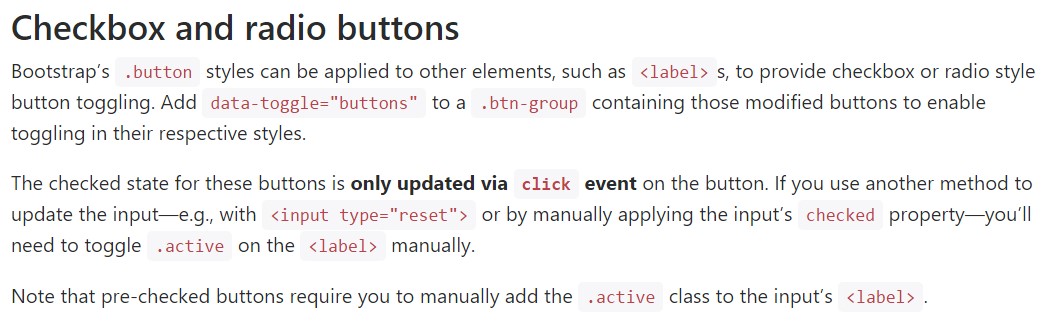
The checked status for these kinds of buttons is only upgraded through click event on the button. If you work with some other solution to modify the input-- e.g., with <input type="reset"> or simply by manually applying the input's reviewed property-- you'll must toggle .active on the <label> by hand.
Take note that pre-checked buttons require you to manually put in the .active class to the input's <label>.
Checkbox

<div class="btn-group" data-toggle="buttons">
  <label class="btn btn-primary active">
    <input type="checkbox" checked autocomplete="off"> Checkbox 1 (pre-checked)
  </label>
  <label class="btn btn-primary">
    <input type="checkbox" autocomplete="off"> Checkbox 2
  </label>
  <label class="btn btn-primary">
    <input type="checkbox" autocomplete="off"> Checkbox 3
  </label>
</div>
Radio

<div class="btn-group" data-toggle="buttons">
  <label class="btn btn-primary active">
    <input type="radio" name="options" id="option1" autocomplete="off" checked> Radio 1 (preselected)
  </label>
  <label class="btn btn-primary">
    <input type="radio" name="options" id="option2" autocomplete="off"> Radio 2
  </label>
  <label class="btn btn-primary">
    <input type="radio" name="options" id="option3" autocomplete="off"> Radio 3
  </label>
</div>
Radio button option
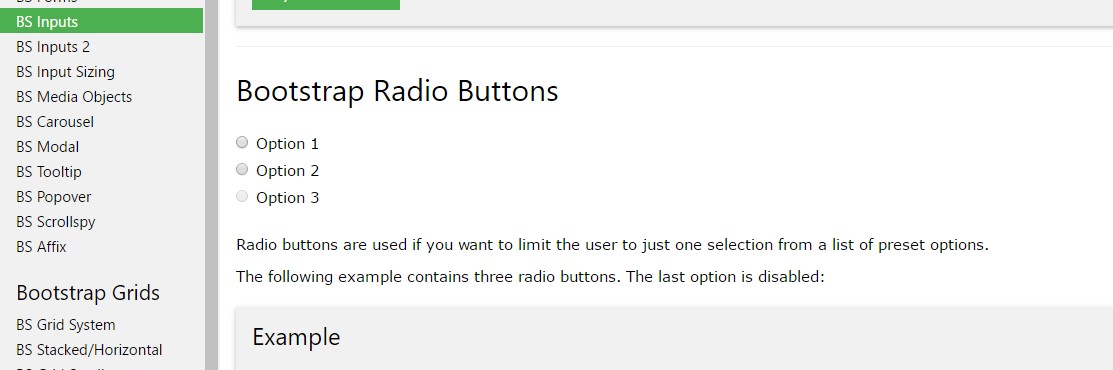
We can easily put to work input elements of the radio style whenever we wish the user to go for only one of a series of opportunities.
Whenever there is more than one particular feature of this particular option through the similar value inside the name attribute, just one can possibly be selected.

<div class="row">
  <div class="col-lg-6">
    <div class="input-group">
      <span class="input-group-addon">
        <input type="checkbox" aria-label="Checkbox for following text input">
      </span>
      <input type="text" class="form-control" aria-label="Text input with checkbox">
    </div>
  </div>
  <div class="col-lg-6">
    <div class="input-group">
      <span class="input-group-addon">
        <input type="radio" aria-label="Radio button for following text input">
      </span>
      <input type="text" class="form-control" aria-label="Text input with radio button">
    </div>
  </div>
</div>
Conclusions
Primarily this is the way the default radio buttons get identified and perform along within Bootstrap 4-- now everything you require are certain opportunities for the users to select from.
Take a look at some on-line video training regarding Bootstrap Radio Button:
Linked topics:
Bootstrap buttons main records
Bootstrap Radio button - training
Checkbox radio buttons break entire toolbar styling
